Intro
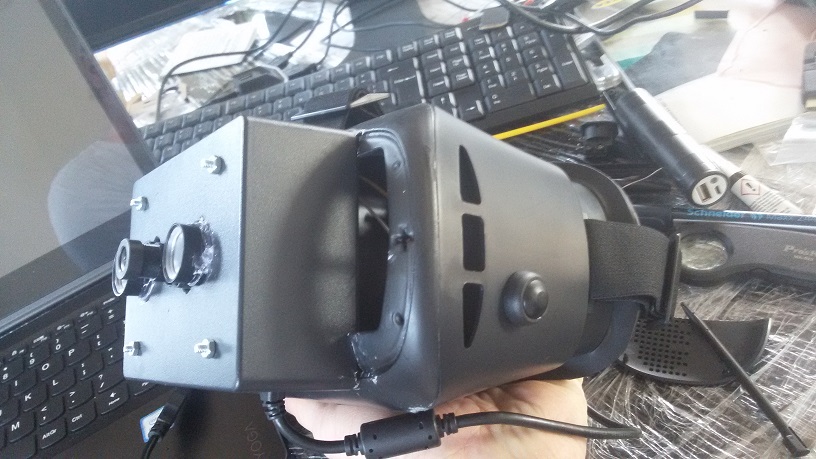
Some time ago I shared my experience in creating an analog night vision device. According to the results of testing and use during STALKER game, it is understood that the recording feature is needed. There were a lot of great moments :) during the night hunt. After a short brainstorming, I realized that the raspberry Pi with a NOIR camera and a TFT LCD display would be perfect choice for this project. As I carrier for all hardware I decided to use VR goggles again, and power bank as a power source. The software is written on Python.
Hardware
So, for this project you need:
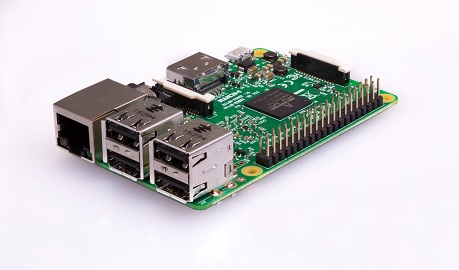
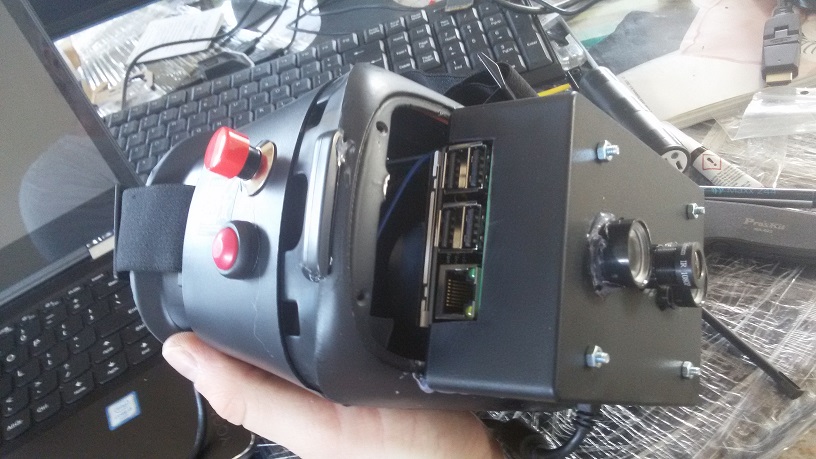
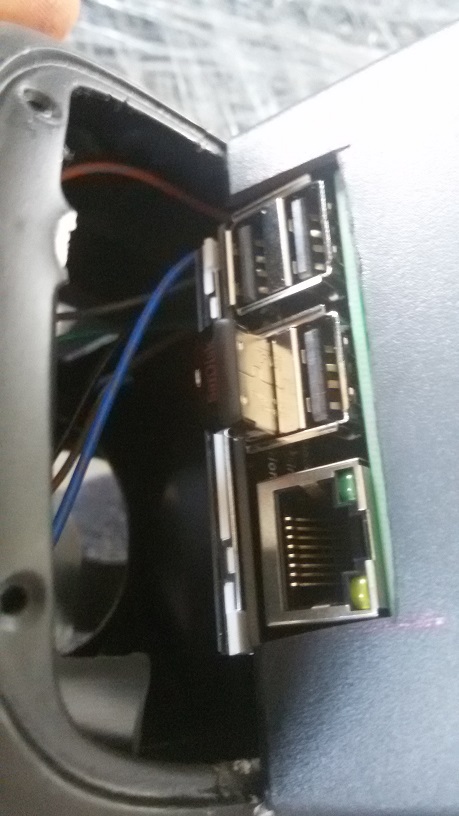
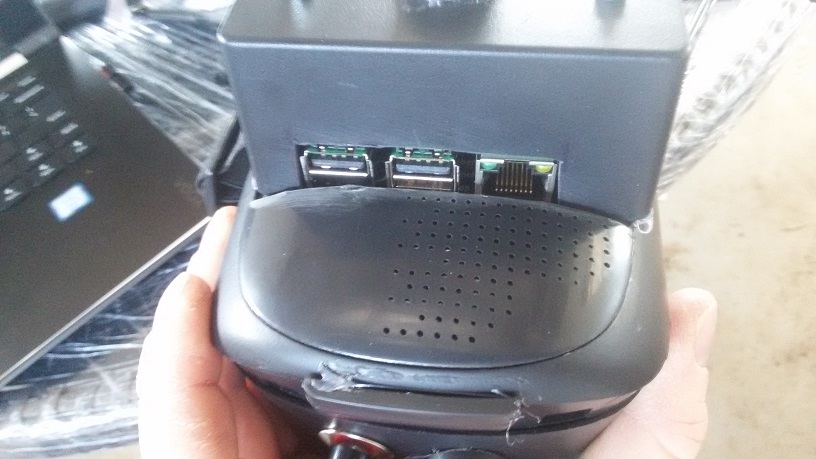
1. Raspberry Pi 3 model B (I think RPi 2 will fit also )
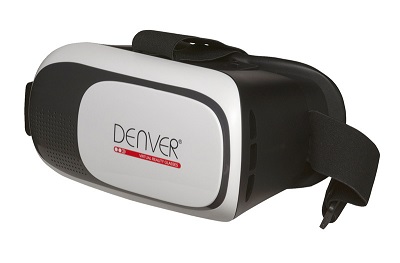
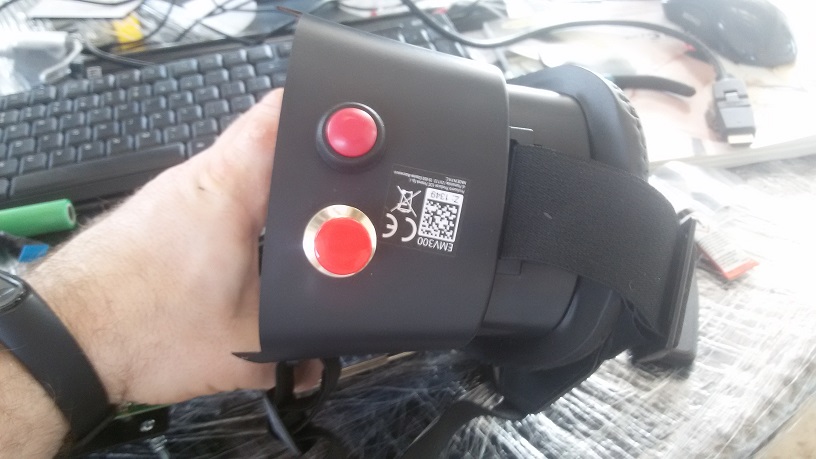
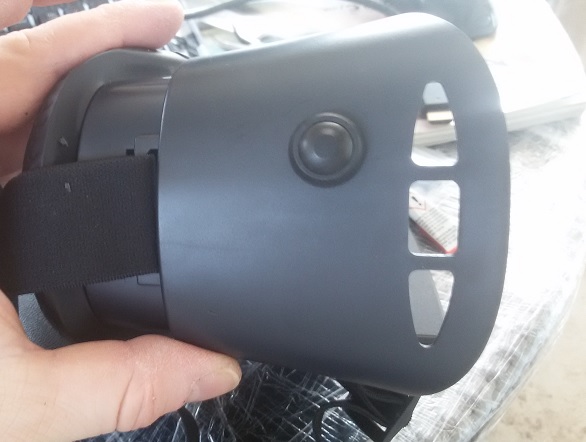
2. VR goggles - almost any with hard casing.
3. Push buttons - 2 pc. ON/OFF (Normally opened) and 1pc push button switch
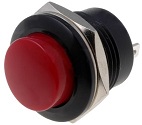
Push button
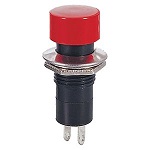
Push button switch
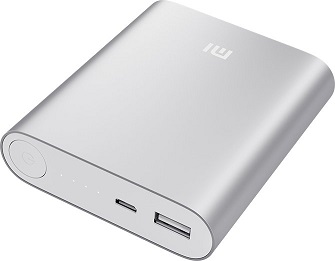
4. Power bank - any capable to provide minimum 2A, 5V
I am using Xiaomi My Bank
5. Micro USB cable
6. USB flash drive - any compatible with Raspberry Pi (will be used to store video recordings).
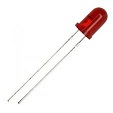
7. LED - color upon your choice
8. TFT LCD display with touchscreen 4". There are small displays available on the market, but those displays are not suitable for the project. The problem is that there is no HDMI input, only SPI interface. Such displays uses only GPIOs and can be used only like a common display for your Raspberry Pi. Look for displays with HDMI interface!.
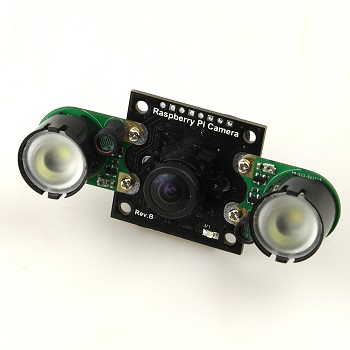
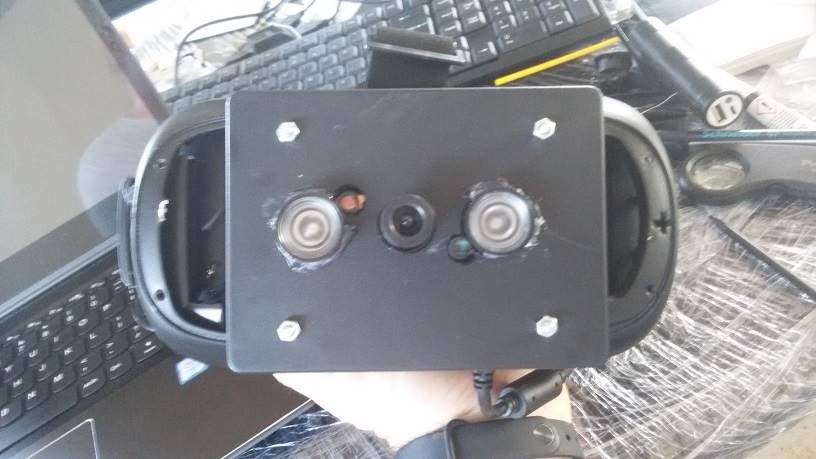
9. Raspberry Pi NOIR camera with infrared LEDs. I am using 5MP. Now there are 8MP cameras available for an attractive price. Normally such cameras are equipped with 2 x 3W high-power 850 infrared LEDs.
The LEDs intensity is limited by the Raspberry Pi power supply, please ensure you have an adequate Raspberry Pi power supply installed. LEDs running at full intensity can get hot, please take care during prolonged use.
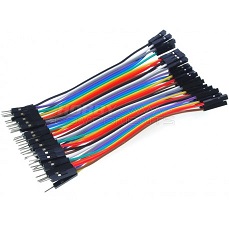
10. DuPont cables
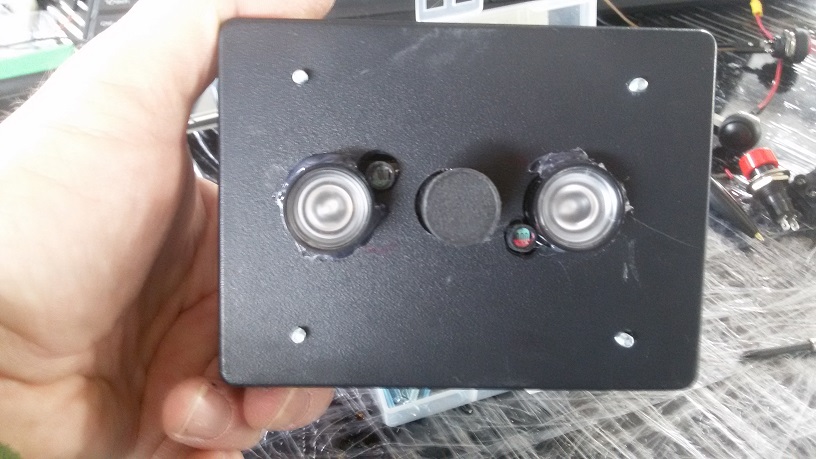
11. Housing for main components.
Installation
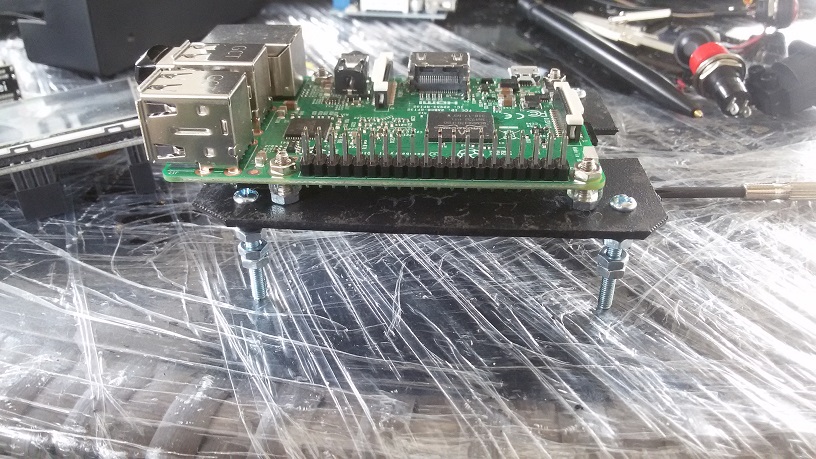
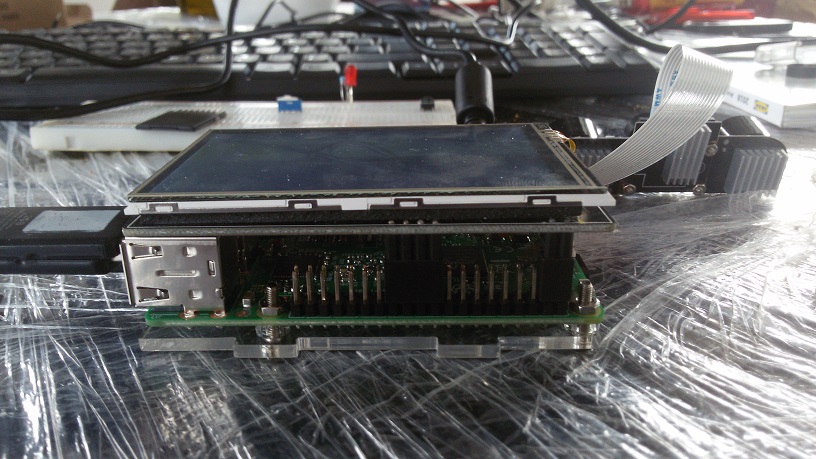
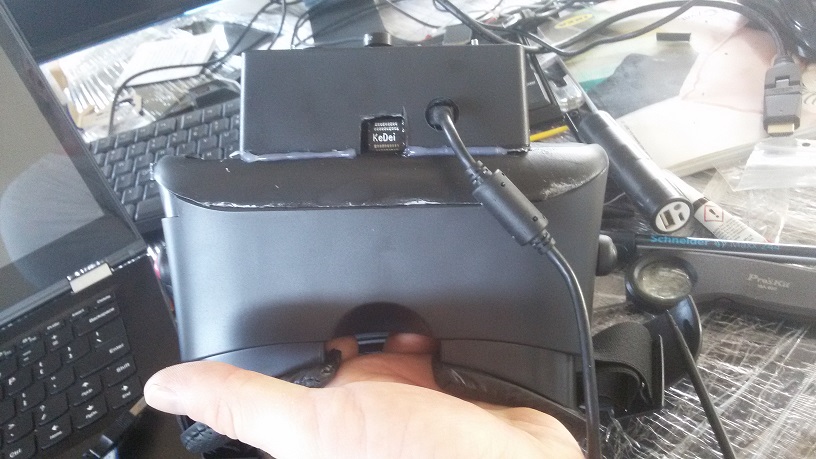
First of all you need to prepare our Raspberry Pi. Install the OS image on SD card according to instructions given together with your TFT display. Insert SD card with the image into Raspberry Pi. Mount the display on GPIOs, connect HDMI dongle. Switch on Raspberry Pi and the display (there is a separate switch on the display). If it works - perfect :)
Now install the PiCamera.
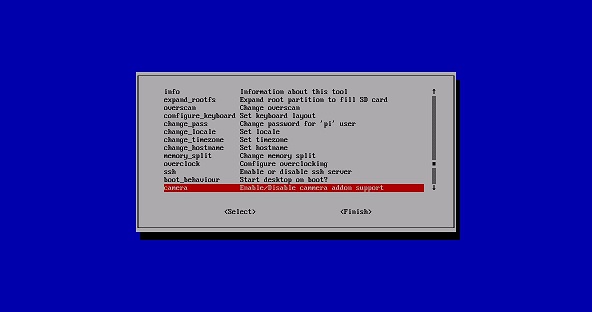
Open configuraion menu by typing in terminal: Sudo raspi-config
It can be not so easy. In my case due to curvy drivers of the display there were visible only part of config menu. So I was forced to try many times to switch on the camera to the touch.
Then navigate to "Camera".
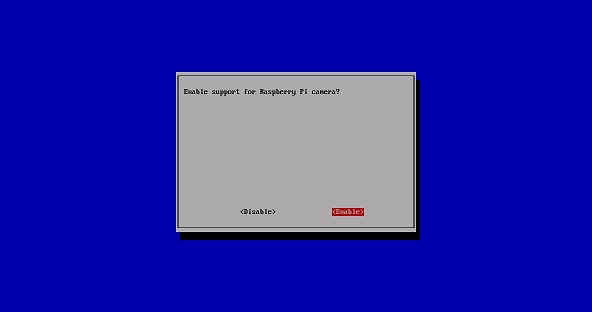
Select "Enable"
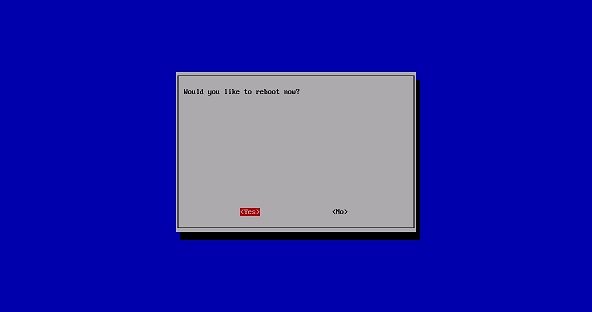
Then, select "Finish" and "Yes" for reboot
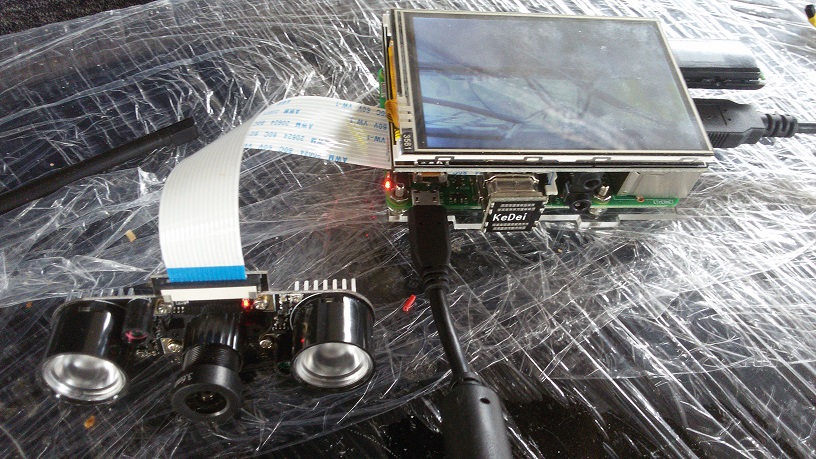
Now you are ready for adding camera. Switch off Raspberry Pi, remove display, plug in the camera, mount the display again.
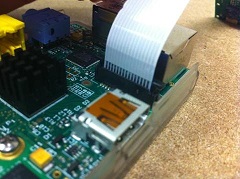
Now your camera is connected and the software is enabled.
The IR LEDs can be bolted to the body of the camera using the included bolts. This connects the 3.3V supply to the boards and secures them in place. If you need to adjust the ambient light threshold (to change when the infrared LED's toggle), there is a tiny adjustable potentiometer on each LED board, you can turn it to change the threshold.
The default save folder for images and video is " /home/pi". To check your camera you can type in terminal: raspivid -o example.h264 -t 15000
The following command will take 15 sec. long video in h.264 format and save it under "example" name.
For taking picture type: raspistill -o example.jpg -t 10000
If it works, go ahead.
Remove the display and connect buttons and LED to GPIOs:
1."Shutdown" push button – GPIO 15
3. Push button switch "preview" – GPIO 16
4. LED - GPIO 21
Here I faced another problem. If DuPont cables are plugged on GPIOs, it is impossible to mount display. The female part of DuPont cable is to high. Unfortunately at the moment of developing the device, I was not familiar with wire wrapping technology. Actually I am to young to remember those days when this technology were widely used. There is very nice video on Youtube about Wire Wrapping: https://www.youtube.com/watch?v=L-463vchW0o. Today I would try this technology.
Code
Like it is mentioned above, the code is written in Python.
You will need to install gpiozero library, before launching the code.
You can find the code here: https://bitbucket.org/pilotlt/nv-mk-ii/src/master/2.1.py
Pay attention at line 13, where destination for your files is described. If you will change this line, also change line 36 accordingly.
You can change record duration on line 39. By default it is set to 90 sec.
How it works
Upload the code on the USB flash drive. Insert it into your Pi. Start Python IDLE, and launch the code.
The "Preview" mode will start automatically. You can change to desktop by pushing Push Button Switch (GPIO 16).
To start recording, push the button connected to GPIO 20. LED inside goggles will lit and a 90-second video will be recorded. As soon as a record stops, LED will switch off.
It is also possible to add some annotation to your video. I do not use this feature, but you can if you want.
How to add annotations.
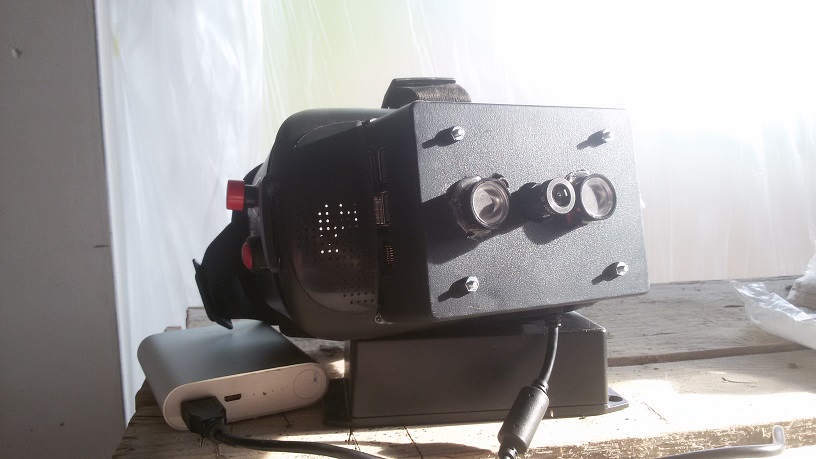
Assembly

Video footage
Conclusion
Well, integrated IR lightning is more or less enough for usage inside, but really not enough for outside use. I tried the device with additional IR torch (sorry do not know how powerful it is). With additional lightning the usability is much better.
Record feature works perfectly. Average 90 -120sec file "weight" is about 4-5mb.
Working time is approximately 4 hours with my 10 000mAh power bank.